Getting Started in Sandbox
This document will guide you through the steps to setup your Sandbox account.
This document will guide you through the steps to setup your Sandbox account.

Visit the following link to get yourself a Zepto Sandbox account. The Sandbox environment is completely self-contained so you can't do any damage:
A Service User Account is a non-human, shared user account created specifically for API interactions. They are functionally equivalent to a regular user account, but can be shared or transferred within your organisation as appropriate.
When configuring API access, we highly recommend using a service user account. This can avoid potential service disruption when a (human) user who configured API access is removed from your account (since their API tokens are also removed).
Once you have logged in to your account,

Ask your onboarding contact at Zepto to enable relevant services on your new Sandbox accountOnce we've activated your sandbox test account, you should be able to move on to the next step.
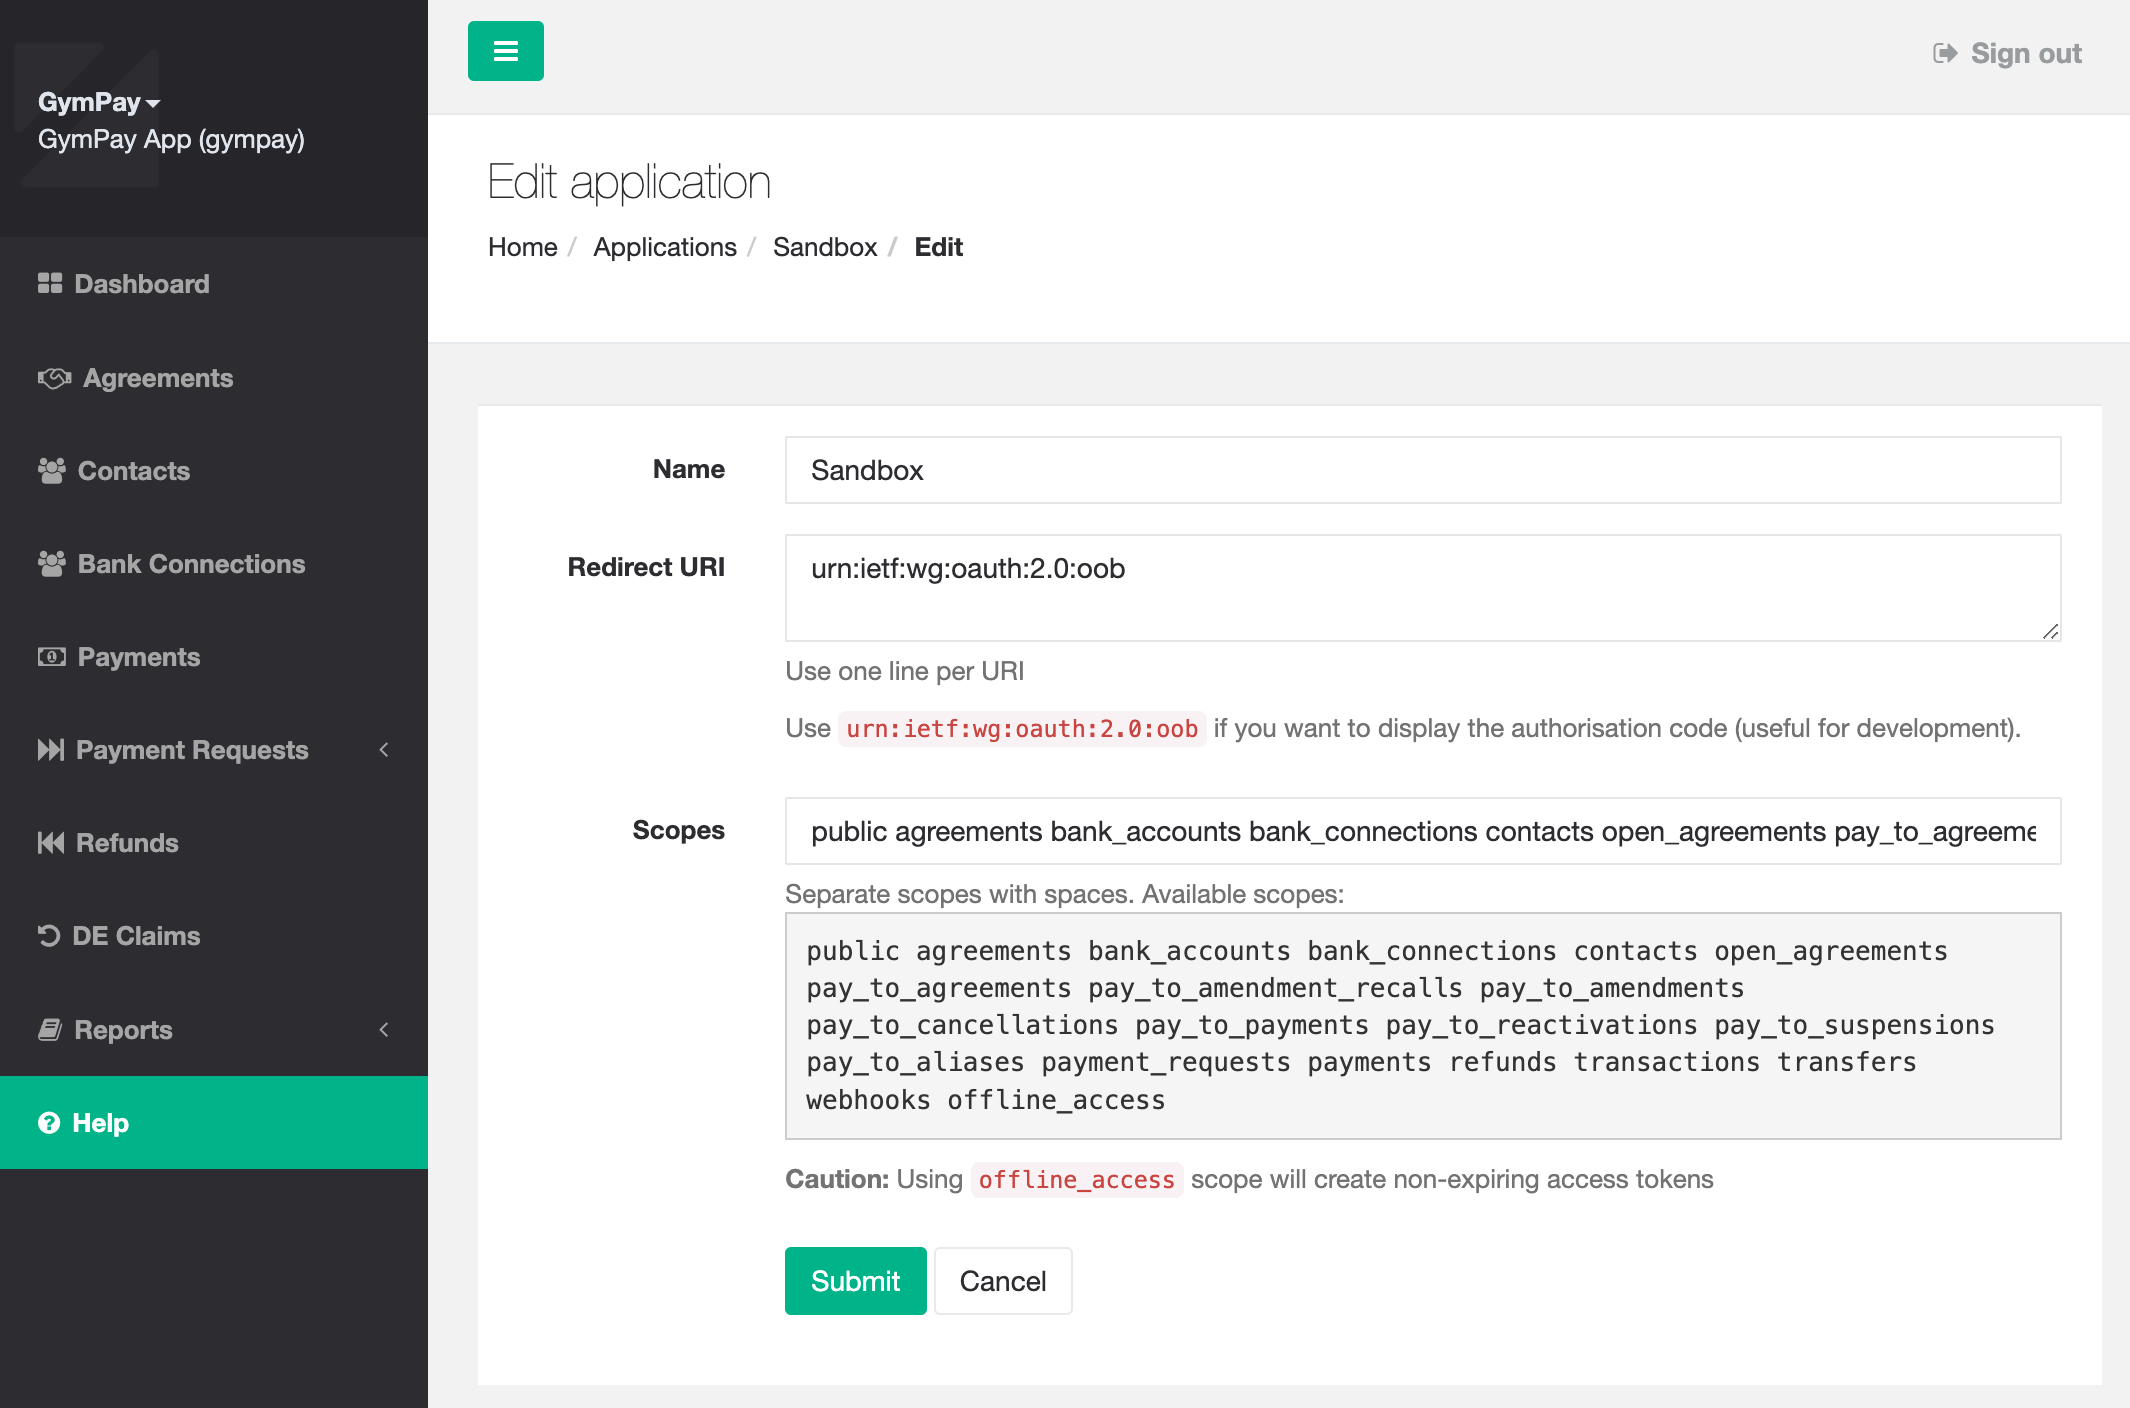
Once your account is confirmed as up and running, sign in with your Service User and create an OAuth2 profile for your application:
public agreements bank_accounts bank_connections contacts open_agreements pay_to_agreements pay_to_amendment_recalls pay_to_amendments pay_to_cancellations pay_to_payments pay_to_reactivations pay_to_refunds pay_to_suspensions pay_to_aliases payment_requests payments refunds transactions transfers webhooks offline_access clients cop_account_validations
Click here for additional OAuth guides.
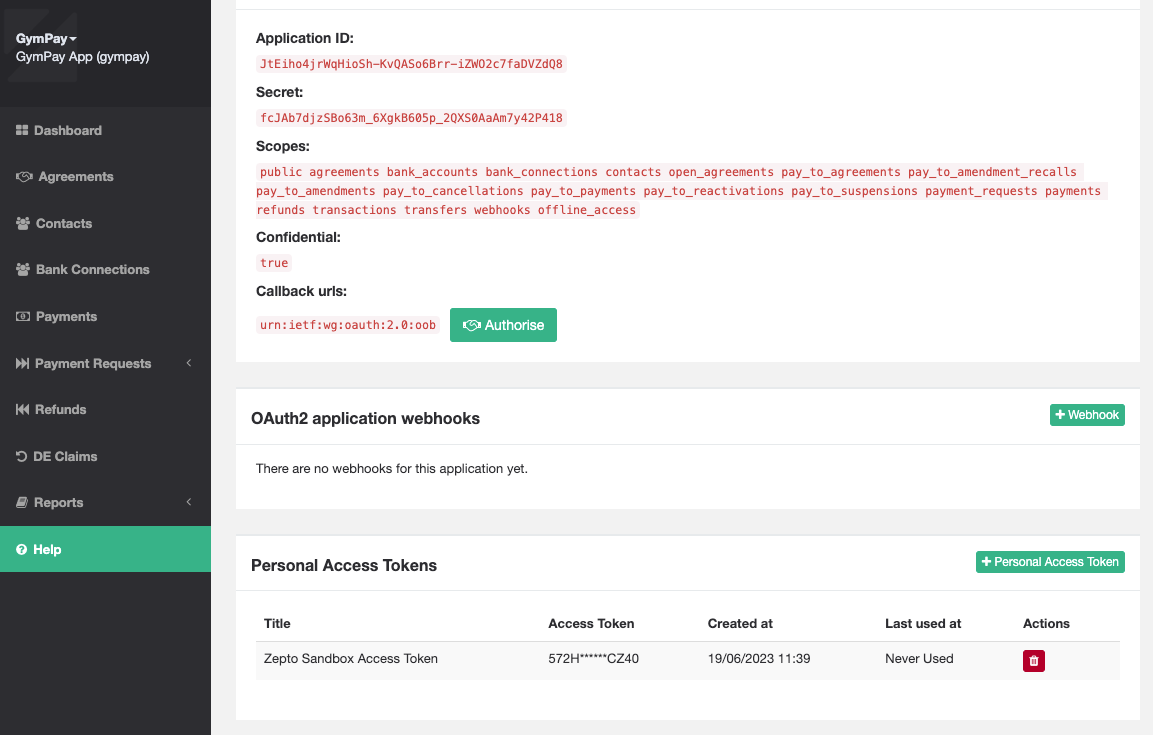
Your personal access token can be generated from your Zepto User Interface. Personal access tokens don't expire but can be deleted and replaced anytime.
Follow these steps to create your personal access token
Bearer Token in your API
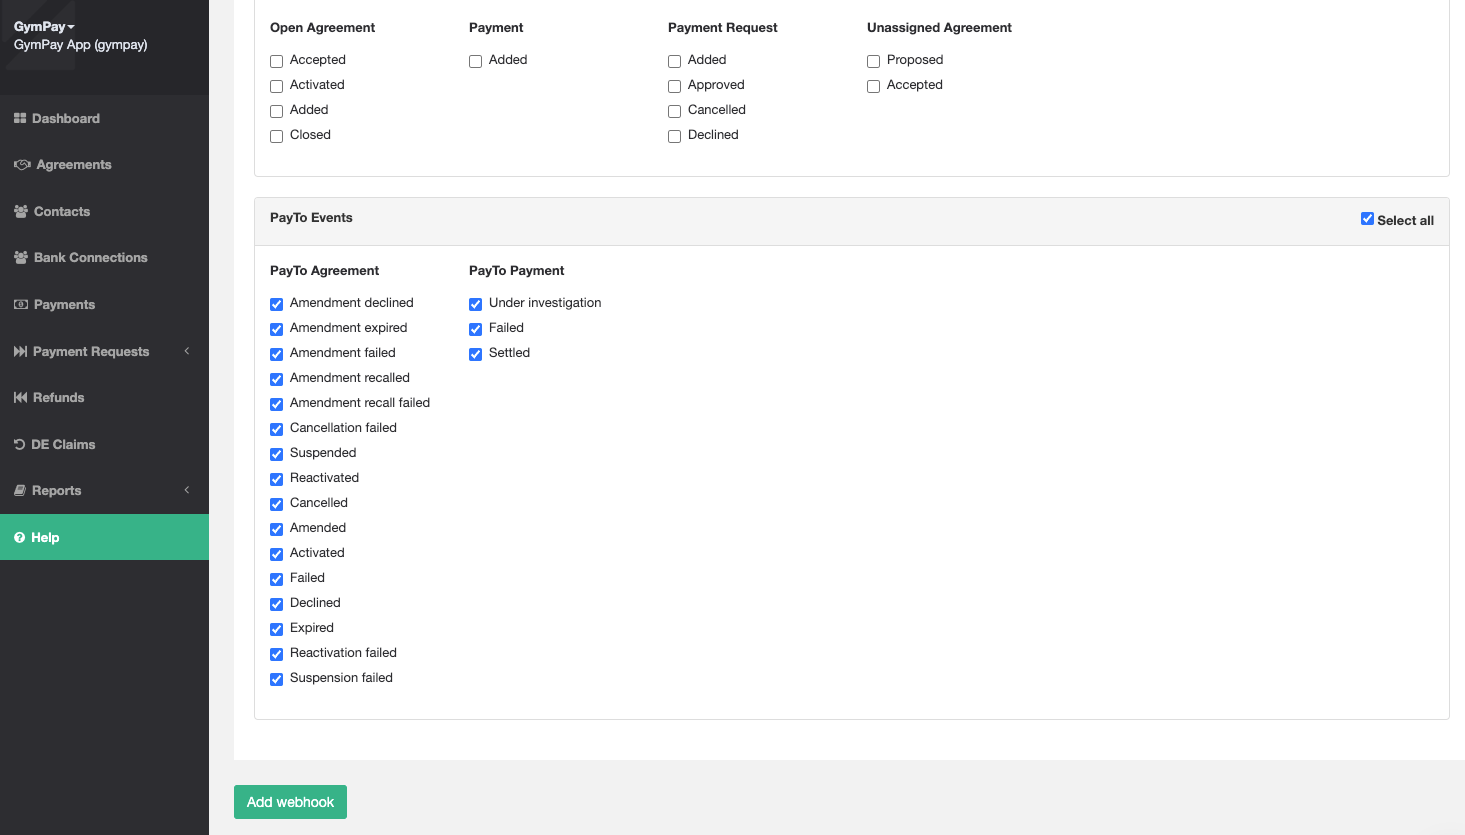
Webhooks are used to notify your application of changes to the status of Agreements, Payment Requests, Credits and Debits, PayTo transactions, etc as they are processed through the system.
By subscribing to our webhook events you can monitor the status of each transaction, and then trigger the appropriate next steps.
If you choose to use webhooks you will first need to configure them in your Zepto Account Settings page.

Learn more about Zepto Webhooks here.
You should now have access to our APIs via the tool of your choice!
🧪 Happy Testing !!
Updated 4 days ago